how to have emboss and deboss effect
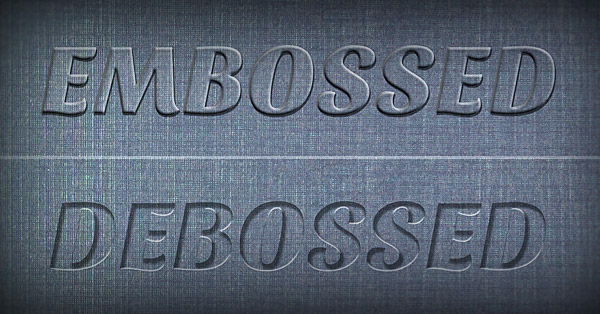
expected below effect(both emboss and deboss)
tried fred's 'emboss' script, but still can't get the deboss effect for the file I have below:
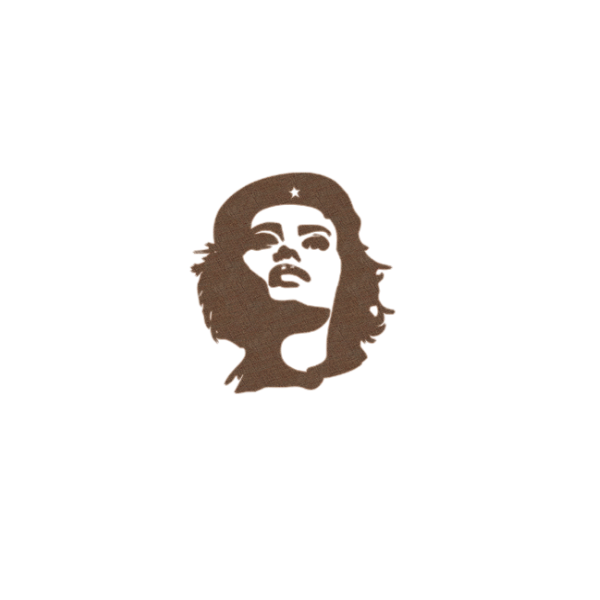
the file I have

tried fred's 'emboss' script, but still can't get the deboss effect for the file I have below:
the file I have
- fmw42
- Posts: 25562
- Joined: 2007-07-02T17:14:51-07:00
- Authentication code: 1152
- Location: Sunnyvale, California, USA
Re: how to have emboss and deboss effect
For emboss use:
For deboss add 180 deg:
Code: Select all
emboss -a 135 input2.png miff:- | convert - -background "#BEBEBE" -flatten emboss_a135.png

For deboss add 180 deg:
Code: Select all
emboss -a 315 input2.png miff:- | convert - -background "#BEBEBE" -flatten emboss_a315.png

Re: how to have emboss and deboss effect
fmw42,fmw42 wrote: ↑2019-08-01T13:22:12-07:00 For emboss use:For deboss add 180 deg:Code: Select all
emboss -a 135 input2.png miff:- | convert - -background "#BEBEBE" -flatten emboss_a135.png
Code: Select all
emboss -a 315 input2.png miff:- | convert - -background "#BEBEBE" -flatten emboss_a315.png
It works for the above image. However if the image is like below, there is no deboss effect. The code was not working.
image:
Not work some images which look too "flat" , without "stroke".
- fmw42
- Posts: 25562
- Joined: 2007-07-02T17:14:51-07:00
- Authentication code: 1152
- Location: Sunnyvale, California, USA
Re: how to have emboss and deboss effect
Your image does not show for me. Access Denied. Please post so that others can access it.
- fmw42
- Posts: 25562
- Joined: 2007-07-02T17:14:51-07:00
- Authentication code: 1152
- Location: Sunnyvale, California, USA
Re: how to have emboss and deboss effect
The image you provided does not have a transparent background. That is needed for that command. It also must be white on a transparent background.
But the text font and size make it too narrow and won't show the effect very well.
Code: Select all
convert text.png -negate -fuzz 50% -transparent black text2.png
emboss -a 315 text2.png miff:- | convert - -background "#BEBEBE" -flatten result.png
Re: how to have emboss and deboss effect
fmw42,
Want to process 3 input files using the one piece of code, to have the 'deboss' effect and transparent background for each of the input images.
for example, expected output for third input image(deboss, and transparent background)
However, I can not got the expected output images, using the below code. Seems like I got the opposite effect: 'emboss' effect for the thrid image. While can't remove background for the second input image.
Code: Select all
convert text.png -negate -fuzz 50% -transparent transparent text2.png
./emboss.sh -a 315 text2.png miff:- | convert - -background transparent -flatten result.png
convert result.png \
\( -clone 0 -alpha extract -morphology dilate diamond:1 -write mpr:alpha +delete \) \
texture.png -compose multiply -composite \
mpr:alpha -alpha off -compose copy_opacity -composite \
-matte -virtual-pixel transparent \
result-2.png
The second input image (same as first image, but have white background)
The third input image
The texture image I used
- fmw42
- Posts: 25562
- Joined: 2007-07-02T17:14:51-07:00
- Authentication code: 1152
- Location: Sunnyvale, California, USA
Re: how to have emboss and deboss effect
You cannot use the same code for all the images. The first line of code was only for black text on a white background. It has a negate in it. That will mess up the third image, which is already white on transparent background. The transparent white will also mess it up, since it already is white and the white may go to transparent.
Your first line of code is malformed with two transparent in it.
And was only intended for black text on a white background.
Your first line of code is malformed with two transparent in it.
It should beconvert text.png -negate -fuzz 50% -transparent transparent text2.png
Code: Select all
convert text.png -negate -fuzz 50% -transparent black text2.png
Re: how to have emboss and deboss effect
fmw42,fmw42 wrote: ↑2019-08-14T13:01:59-07:00 You cannot use the same code for all the images. The first line of code was only for black text on a white background. It has a negate in it. That will mess up the third image, which is already white on transparent background. The transparent white will also mess it up, since it already is white and the white may go to transparent.
Your first line of code is malformed with two transparent in it.
It should beconvert text.png -negate -fuzz 50% -transparent transparent text2.png
And was only intended for black text on a white background.Code: Select all
convert text.png -negate -fuzz 50% -transparent black text2.png
I removed the image with white background. Below I have four images which all have transparent background. I used the code shown here, however, still cannot get the 'deboss effect'. Looks like only works for input2.png...
Just want to have a code to batch process the images like these.
input image 1:
input image 2:
input image 3:
input image 4:
texture image:
same as the above post
code:
Code: Select all
./emboss.sh -a 315 input.png miff:- | convert - -background transparent -flatten result.png
convert result.png \
\( -clone 0 -alpha extract -morphology dilate diamond:1 -write mpr:alpha +delete \) \
texture.png -compose multiply -composite \
mpr:alpha -alpha off -compose copy_opacity -composite \
-matte -virtual-pixel transparent \
result-2.png
- fmw42
- Posts: 25562
- Joined: 2007-07-02T17:14:51-07:00
- Authentication code: 1152
- Location: Sunnyvale, California, USA
Re: how to have emboss and deboss effect
I do not think my script will work well for you. Sorry.
- fmw42
- Posts: 25562
- Joined: 2007-07-02T17:14:51-07:00
- Authentication code: 1152
- Location: Sunnyvale, California, USA
Re: how to have emboss and deboss effect
Try this using the other mode in my emboss script. The first line extracts the alpha channel from your second example image, since the script needs the image to be processed to be black and white. The image must have an alpha channel that is not fully opaque and corresponds appropriately to the image such that its background is transparent.
You can adjust -d, -i and disk:x to suit your situation.
Code: Select all
convert input1.png -alpha extract alpha.png
emboss -m 2 -d 3 -a 90 -i 30 alpha.png miff:- |\
convert - \( alpha.png -morphology dilate disk:3 \) \
-alpha off -compose copy_opacity -composite \
result.png